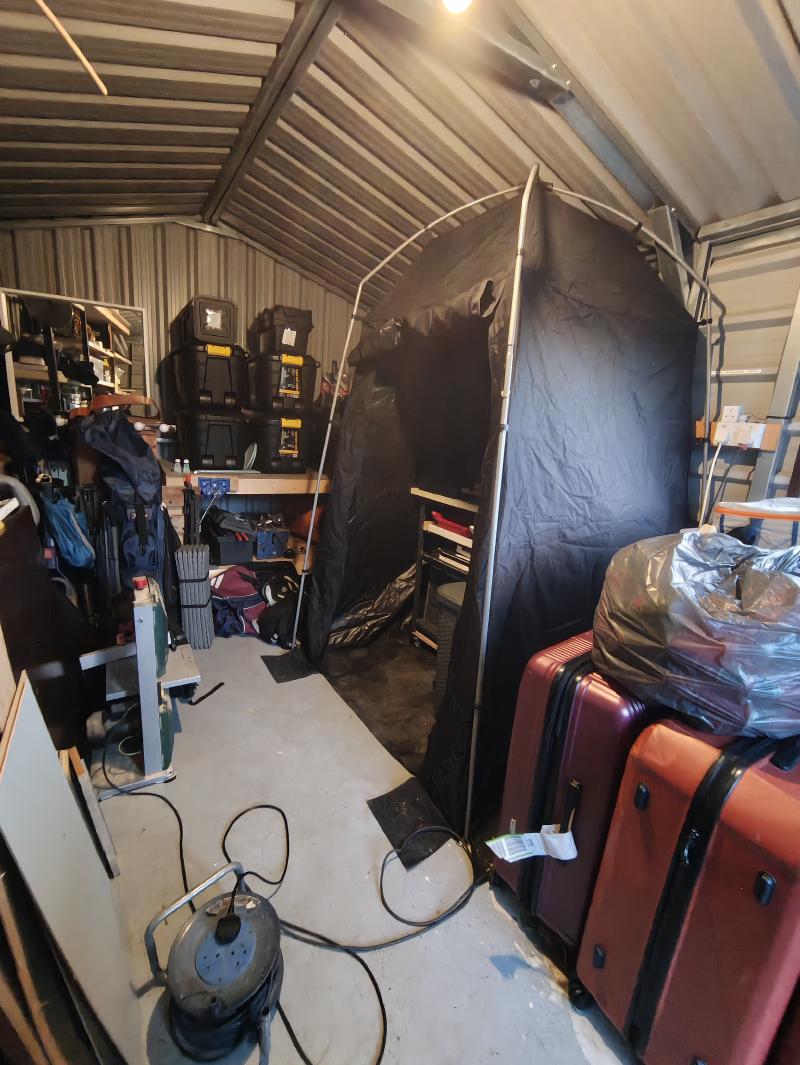

By far the biggest limiting factor to setting up a darkroom at home is space. This is why I set out to make the most out of Ilford’s pop-up darkroom tent to make the smallest darkroom capable of making large (16"x20") prints possible.
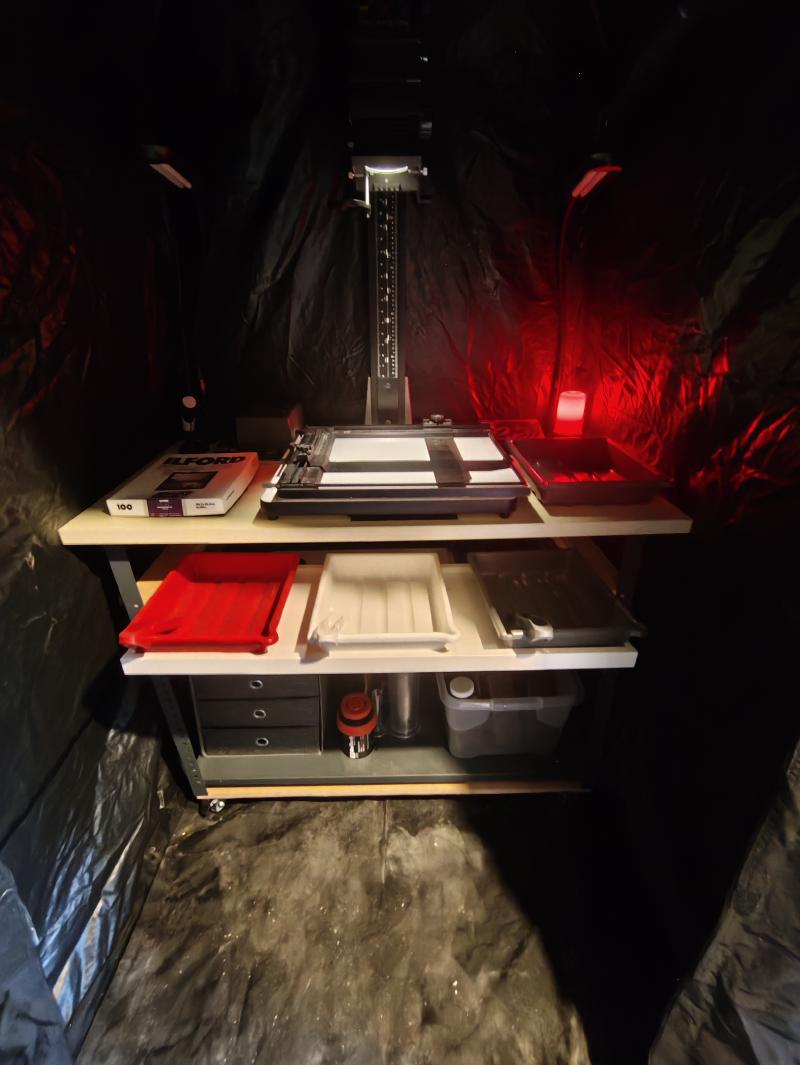
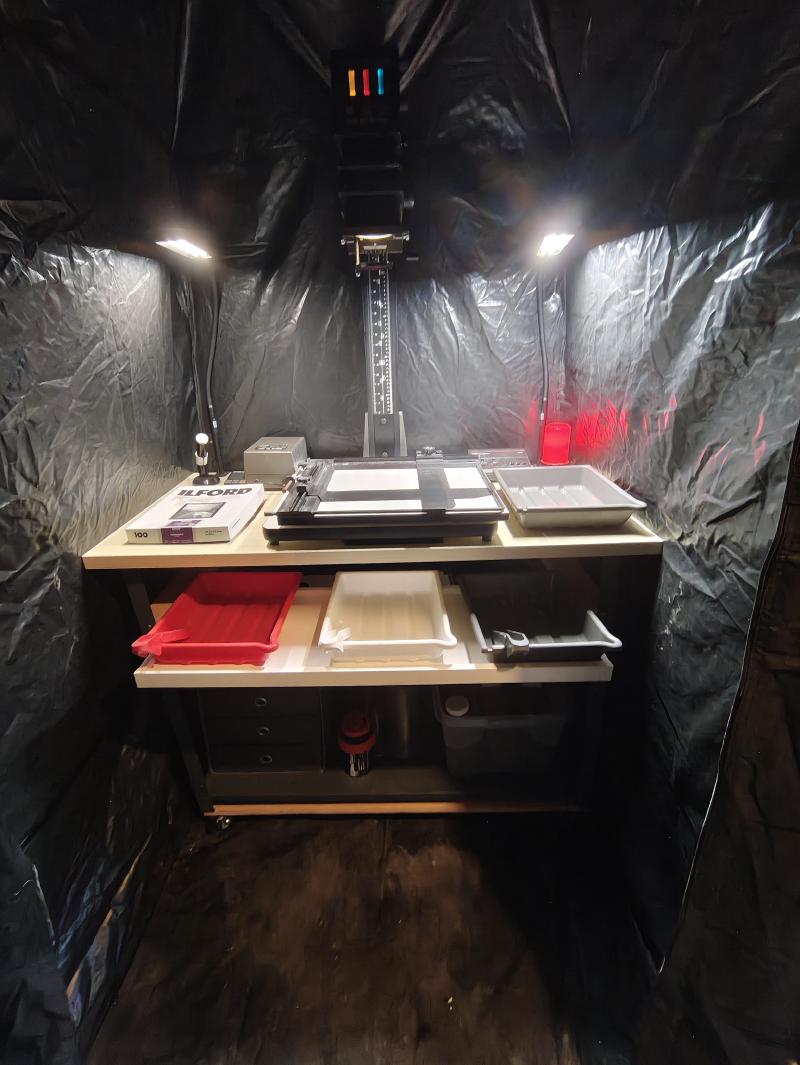
A 60"x120" tabletop with cheap workbench and DIY sliding shelves made from ikea wardrobe furniture make up the basic structure. On top sits a Durst M605 colour enlarger, AP safelight, Patterson timer and focus finder and Beard adjustable masking easel. A pair of flexible lamps allow for easy inspection of developed prints without the need to open the lightproof tent.
The next tier consists of a sliding “wet section” which contains three 8"x10" development trays colour coded for development (red), stop bath (white) and fixer (grey). A fourth tray used for washing test prints sits above the fixer tray for easy transfer with minimal risk for cross contamination. Larger prints can be made using the JOBO 2850 processing drum and a set of rollers.
The third tier is a shelf for additional printing papers and easels of various sizes along with a Patterson contact printer. Below is a larger shelf for drums, measuring cylinders and chemistry storage along with an ikea storage box for accessories such as a squeegees, scissors, gloves and film hanging clips.
All of this fits snugly in my garden shed taking up less than 1.5sqm of floor space and without the need for blacking out the whole room!